How to Make a Shotlist for a Film: A DP's Working Method
The order you decide things in is what separates a working shotlist from a spreadsheet you abandon by lunch — here's the sequence a DP uses on set.

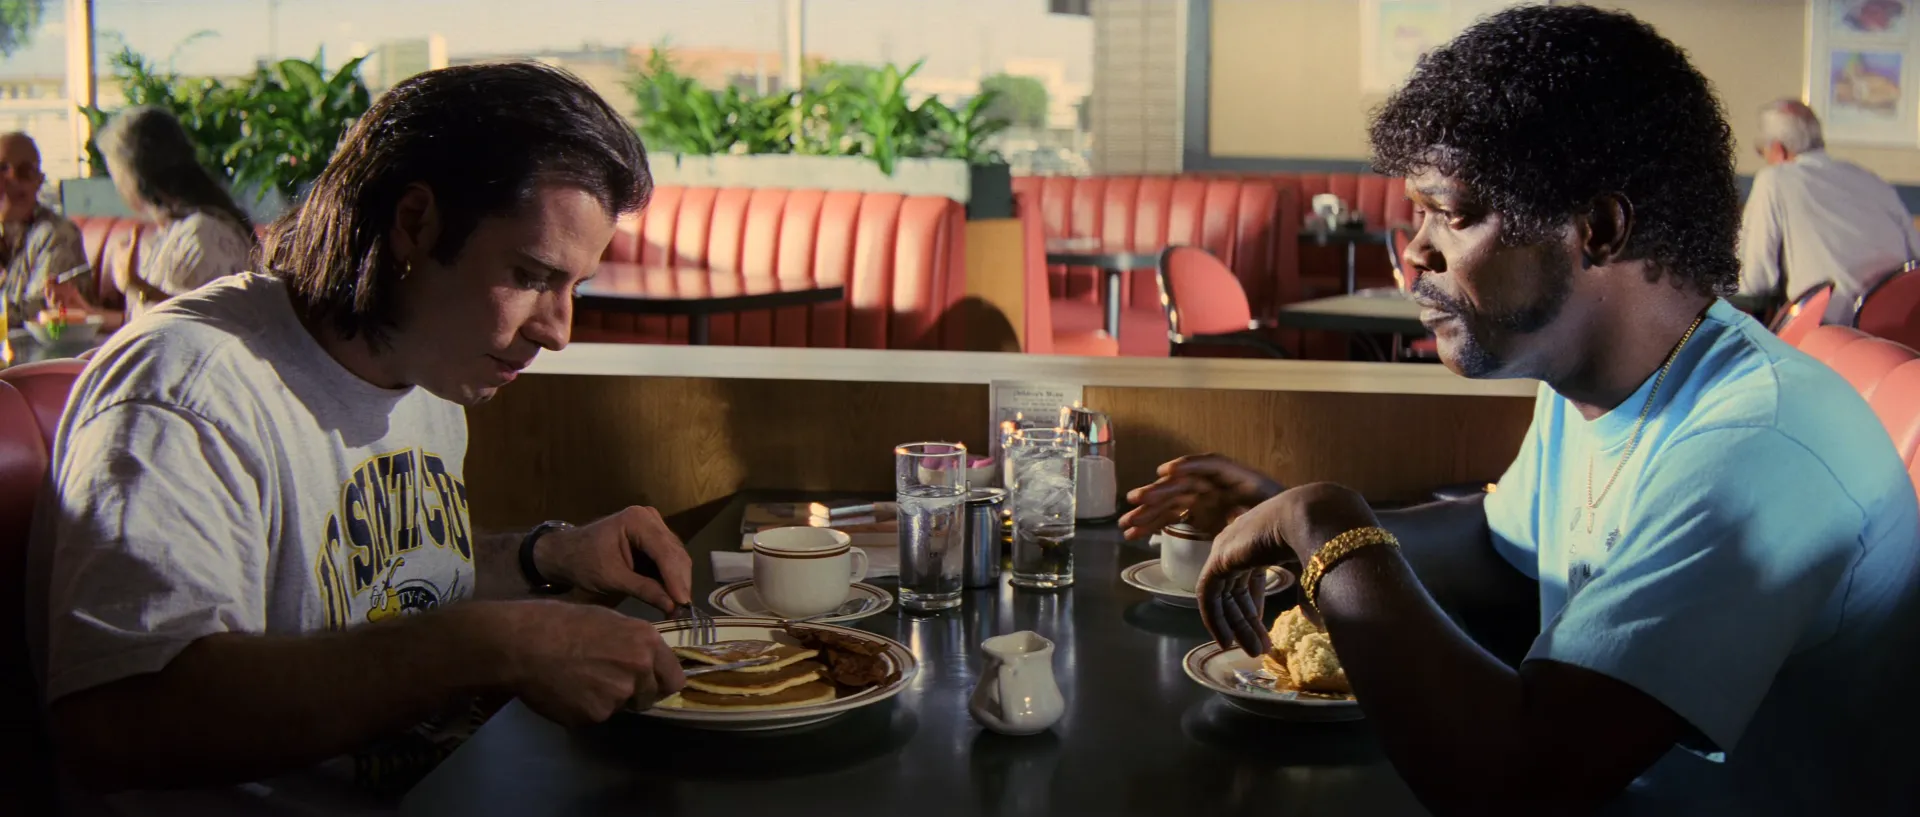
Every AD has watched the same thing happen. The schedule gave the diner scene two hours. Lunch ran long, an actor's availability shifted, and now there are forty minutes left and nine shots still on the list. This is the moment a shotlist earns its keep — either it tells you exactly what to drop and what to protect, or it's a wish list you're abandoning in a panic while the crew stands around waiting for a decision.
Knowing how to make a shotlist that survives that moment has almost nothing to do with the template. It comes down to the order you make decisions in. Work it the way a DP actually works: figure out the coverage the scene needs, then the shot size each beat calls for, then — last — the lens and the movement. Get that order right and the list stops being a spreadsheet and becomes the plan the whole crew can shoot from.
Start with the block, not the shot
The most common mistake is opening a blank template and brainstorming angles that would look cool. That's backwards. The blocking comes first — where the actors are, where they move, who they're talking to. The blocking is what tells you the coverage, and the coverage is what you list.
Coverage, at its simplest, is the set of angles that will let the scene cut together in the edit. It usually starts with a master that holds the whole geometry of the scene, then breaks down into the singles that isolate each character, then the inserts for the details that carry meaning.
Look at a two-hander like this and the coverage almost writes itself: the wide that establishes who's sitting where, a clean single on each person, and inserts on the hands and the food when the dialogue turns. You're not inventing shots. You're reading what the blocking already demands. If you want a deeper look at how much a scene actually needs, we broke down how many shots it takes to cover a scene — the answer is almost always fewer than a first-timer thinks. The goal isn't to shoot everything; it's to shoot what the edit will need.
Let the story beat pick the shot size
Once the coverage is mapped, every line needs a size. Here the temptation is to vary sizes for visual interest — a wide, then a medium, then a close, because mixing it up feels professional. Resist that. The size should track what the audience needs to feel at that beat, not what makes the list look balanced.
Go wide when the geography matters. Cut to a single when you want a character alone with a decision.
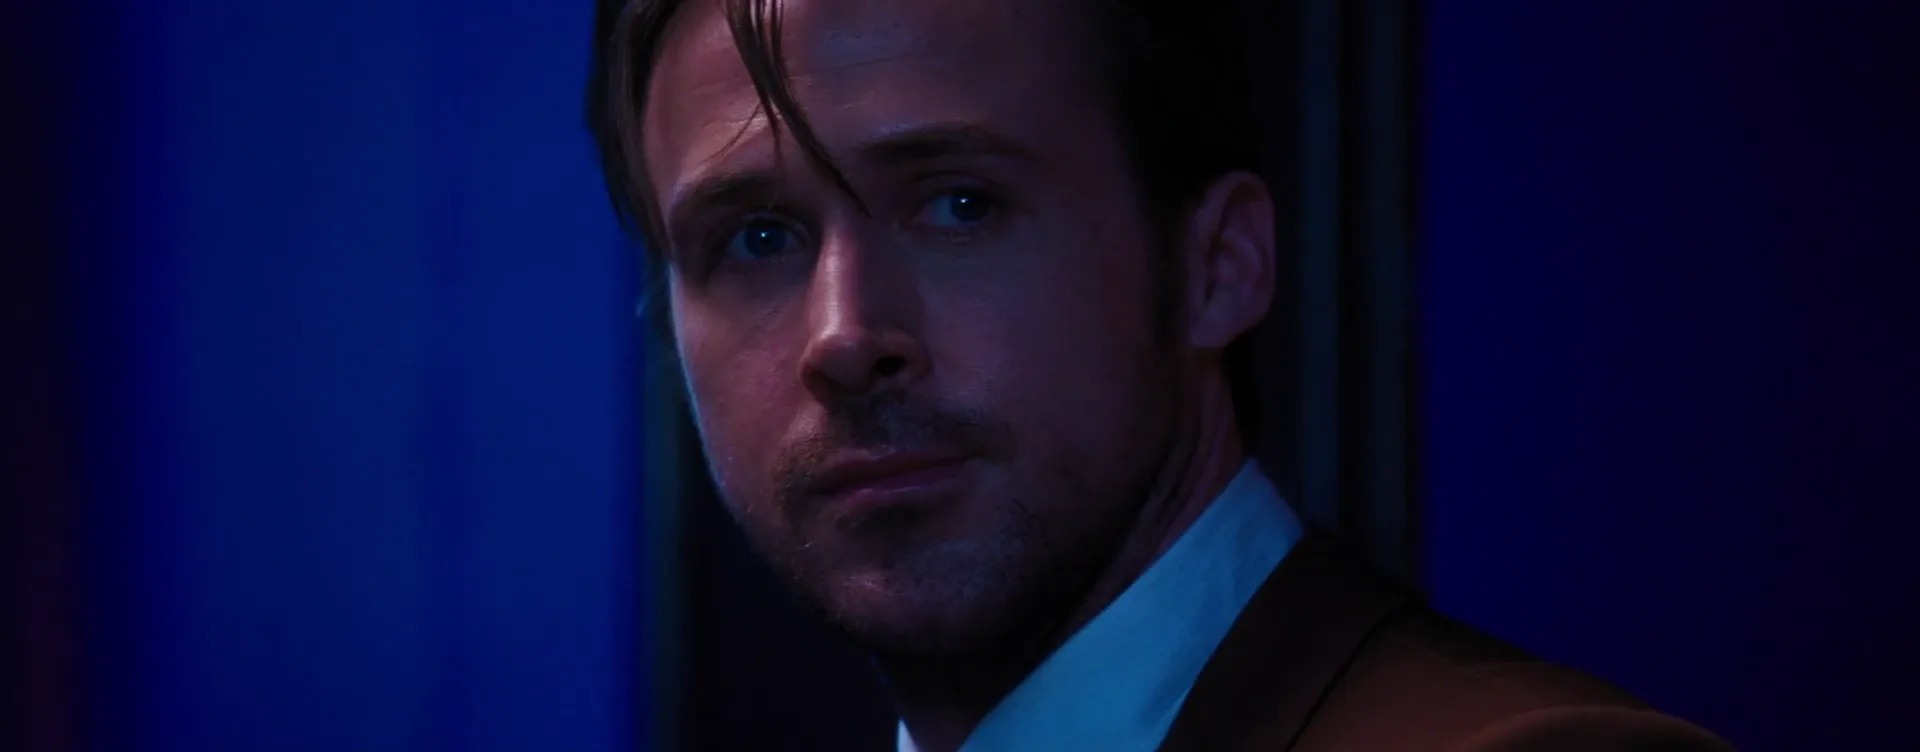
Save the close-up for the moment the whole scene lives in someone's face. A close-up spends currency — it tells the audience this is the thing to watch — so it lands hardest when you've earned it rather than defaulted to it.
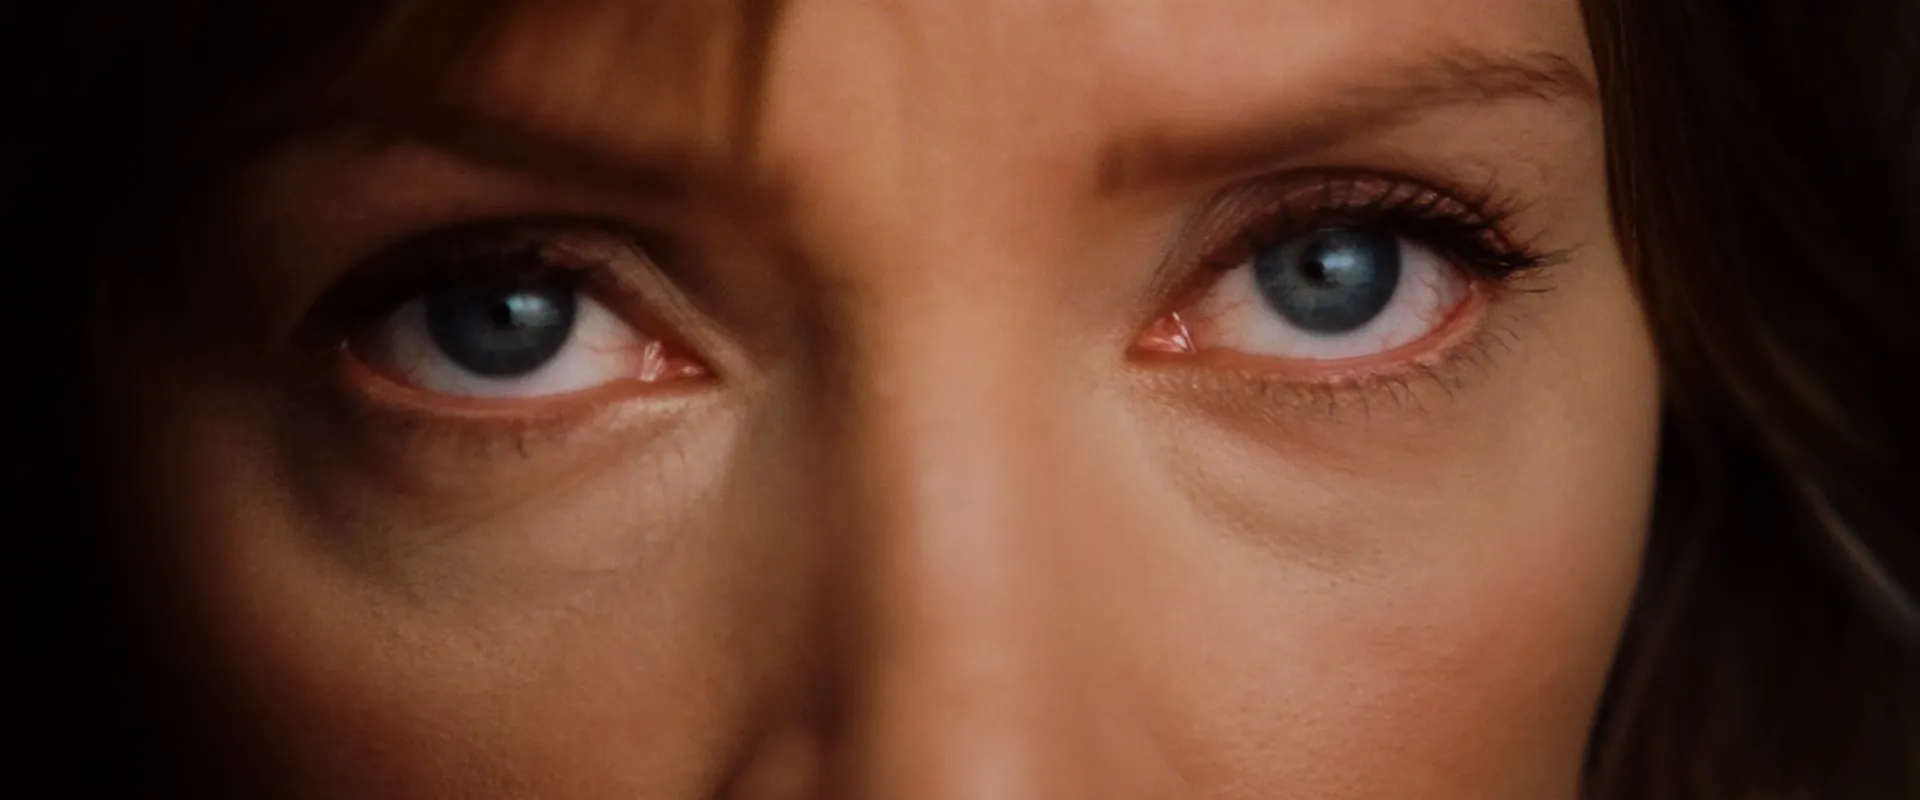
When you're deciding a size, you're really deciding how close the audience gets to the character. That's a story call before it's a camera call, and it belongs on the shotlist as a reason, not just a label.
Lens and movement come last
Only once you know what you're covering and how tight each shot is do the lens and the movement make sense to decide. They're the how, not the what, and choosing them first is how you end up with a beautiful shot that doesn't cut.
A long lens on a single flattens the space and pulls the character out of their surroundings; a wider lens keeps them planted in the room. That difference is a tool, and it's worth understanding how focal length changes what a shot feels like before you commit a number to the list. Movement is the same discipline: a push-in that arrives exactly on the beat earns its place, a dolly move you added because the track was already down does not. If a move isn't motivated, cut it — here's when each type of camera movement actually earns its place.
How to make a shotlist that survives the day
Now the part everyone thinks is the whole job: the columns. A working shotlist has scene, shot number, size, angle, movement, lens, a short description, and — the one most people skip — priority. The fields matter less than two habits.
First, group the list by setup, not by script order. You block and light a camera position once, so shoot everything you need from it before you move. Reordering the list this way is where a shotlist saves real hours on the day.
Second, mark every shot A, B, or C during prep. When the clock wins — and it will — you drop the C's without calling a meeting, because you already decided in the calm of pre-production what the scene can live without. That single column is the difference between a controlled cut and the panic in that diner.
One more thing: build the list with your DP, not for them. The shotlist is where the director and the DP agree on exactly what's being shot before anyone's on the clock, which is a different document from a storyboard, and it's worth knowing what each one is actually for. It also comes after the script has been broken down for production, not before — you can't list shots for elements you haven't accounted for yet.
Make the list something the crew can see
The last upgrade turns the shotlist from text into a picture. Attach a reference frame to each line — the exact master, single, or insert you're chasing — and the director, the DP, and the gaffer stop arguing over adjectives and start looking at the same image. "Moody" means five different things to five departments; a still means one.
That's the version of a shotlist that actually survives a chaotic day: coverage read off the blocking, sizes chosen for the story, lens and movement decided last, and every line backed by a frame the whole crew already agreed on. Pull those references straight from a visual library built for exactly this, and the plan on paper finally looks like the film in your head.
How did you like this article?
Login to react to this article
Discussion (0)
💬 No comments yet. Be the first to share your thoughts!