Day for Night: How to Shoot Night Scenes in Broad Daylight
Two stops down, cold and blue, sky kept out of frame — how filmmakers fake midnight at noon, from Truffaut to Fury Road.

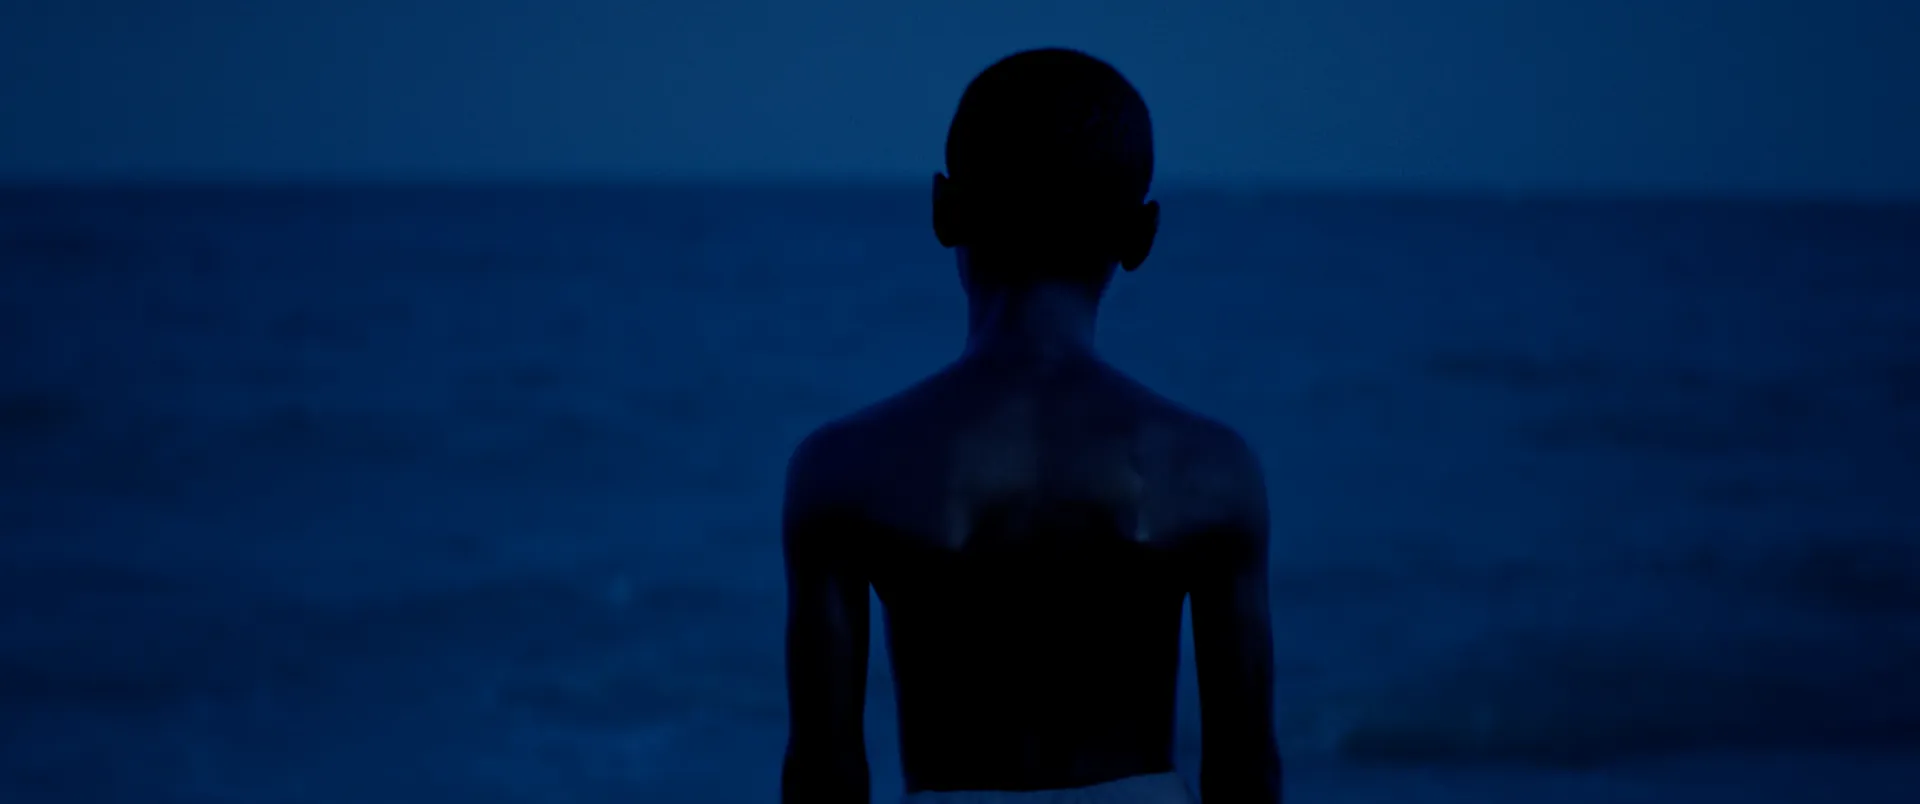
You've scouted a night exterior, blocked the scene, and then reality shows up: you have one afternoon, no HMI package, and a location too wide to light after dark. Shooting it night-for-night would eat the schedule and the budget. So you cheat the clock. You shoot in daylight and make it read as midnight.
Day for night filmmaking is the set of techniques that sell a moonlit night scene captured in broad daylight — usually by underexposing, shifting the image cold and blue, keeping the bright sky out of frame, and finishing the illusion in the grade. It's one of the oldest tricks in the book, and it's still on call sheets today because the alternative — lighting a real night exterior — is often the single most expensive thing a production can attempt.
Where the name comes from
The French call it la nuit américaine — "the American night" — because Hollywood leaned on the technique so heavily. François Truffaut borrowed the phrase for the title of his 1973 film about the chaos of a movie shoot; the English release was simply Day for Night, and it went on to win the Academy Award for Best Foreign Language Film. The name stuck because the problem never went away. Every generation of filmmakers inherits the same math: night is dark, dark needs light, and light costs money.
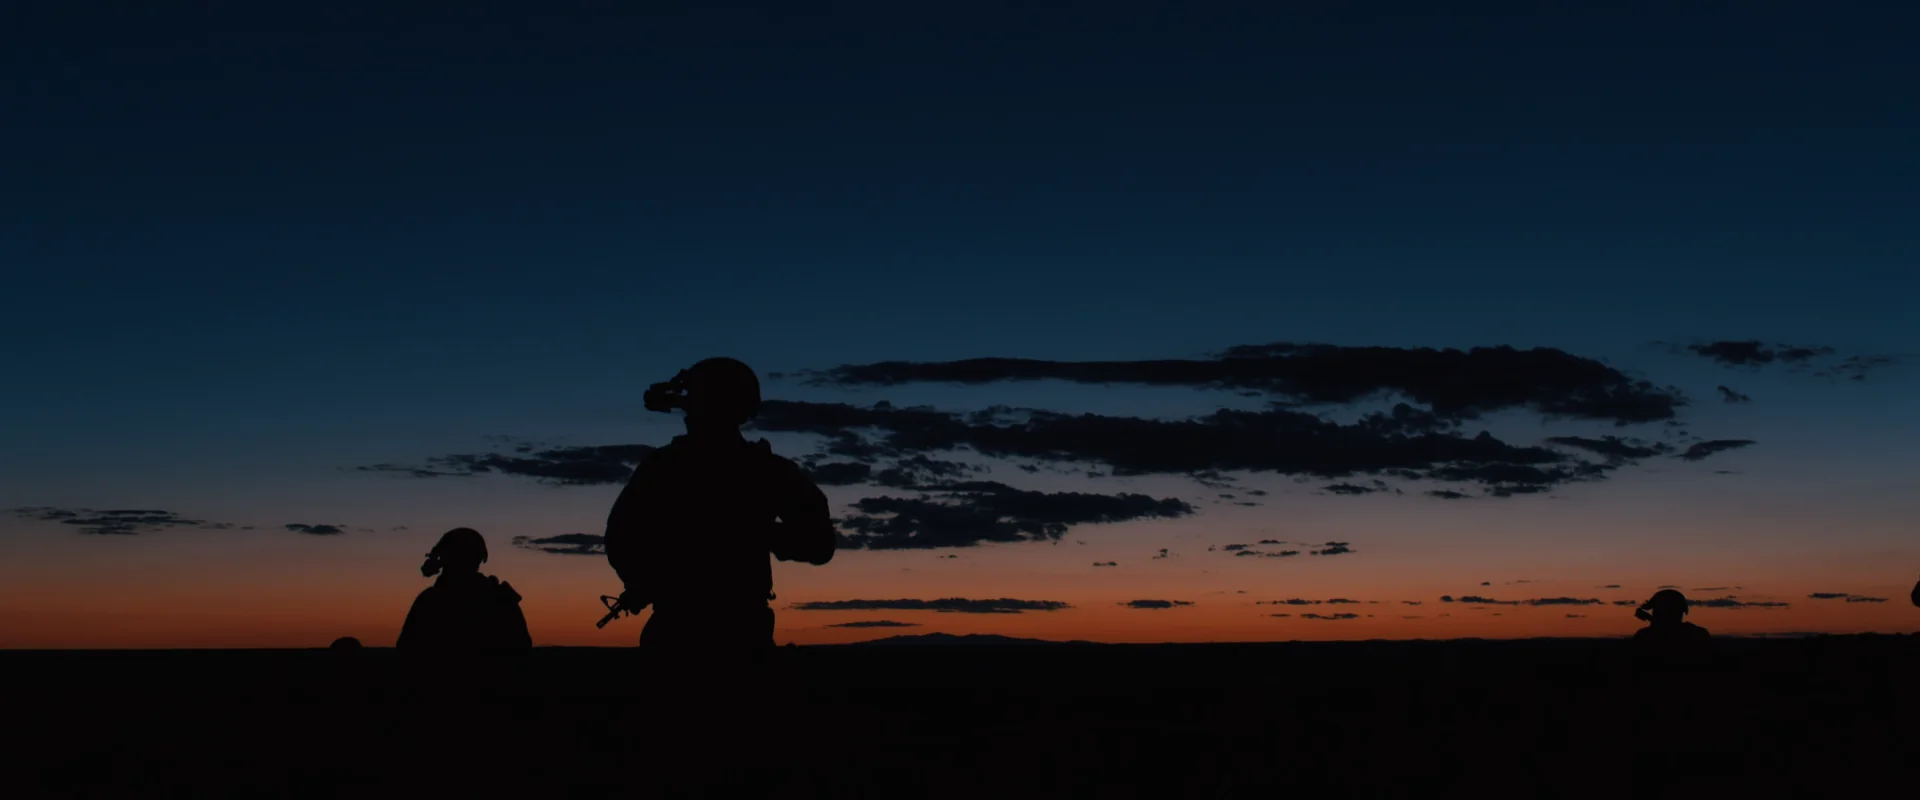
Westerns lived on this. Conrad Hall shot large stretches of The Professionals (1966) day for night because the landscapes were simply too vast to light after sundown — you can't hang a moon over a canyon. Hall's work on that film earned him an Academy Award nomination, and it set the template that a lot of us still reverse-engineer: a crystal sky gone dark blue, hard terrain reduced to silhouette, just enough shape left in the frame to read.
The film-era recipe
For decades the approach was consistent, and it's worth knowing even if you shoot digital, because the logic still applies.
- Underexpose by about two stops. You want the frame to sit dark enough that eyes read it as night, but not so crushed that it turns to mud.
- Go tungsten. Shooting on tungsten-balanced (3200K) stock without correction pushes everything cold. Practical light sources — a lit window, a headlight — render roughly white, while everything untouched slides toward moonlight blue.
- Keep the sky out. A bright daytime sky is the single biggest tell. Frame low, favor the ground, and let hills or buildings cap the top of the shot.
- Use a polarizer. It knocks down glare on water, glass, and metal so nothing sparks in a way moonlight never would.
That blue-and-underexposed look is what most people picture when they think day for night. It's a convention, not physics — real moonlight is closer to neutral than the movies admit — but audiences have been trained to read cold-and-dark as "night," so you lean into it.
Digital flipped the recipe
Here's the part that trips people up when they move from film to a modern sensor: you often do the opposite of underexposing on set.
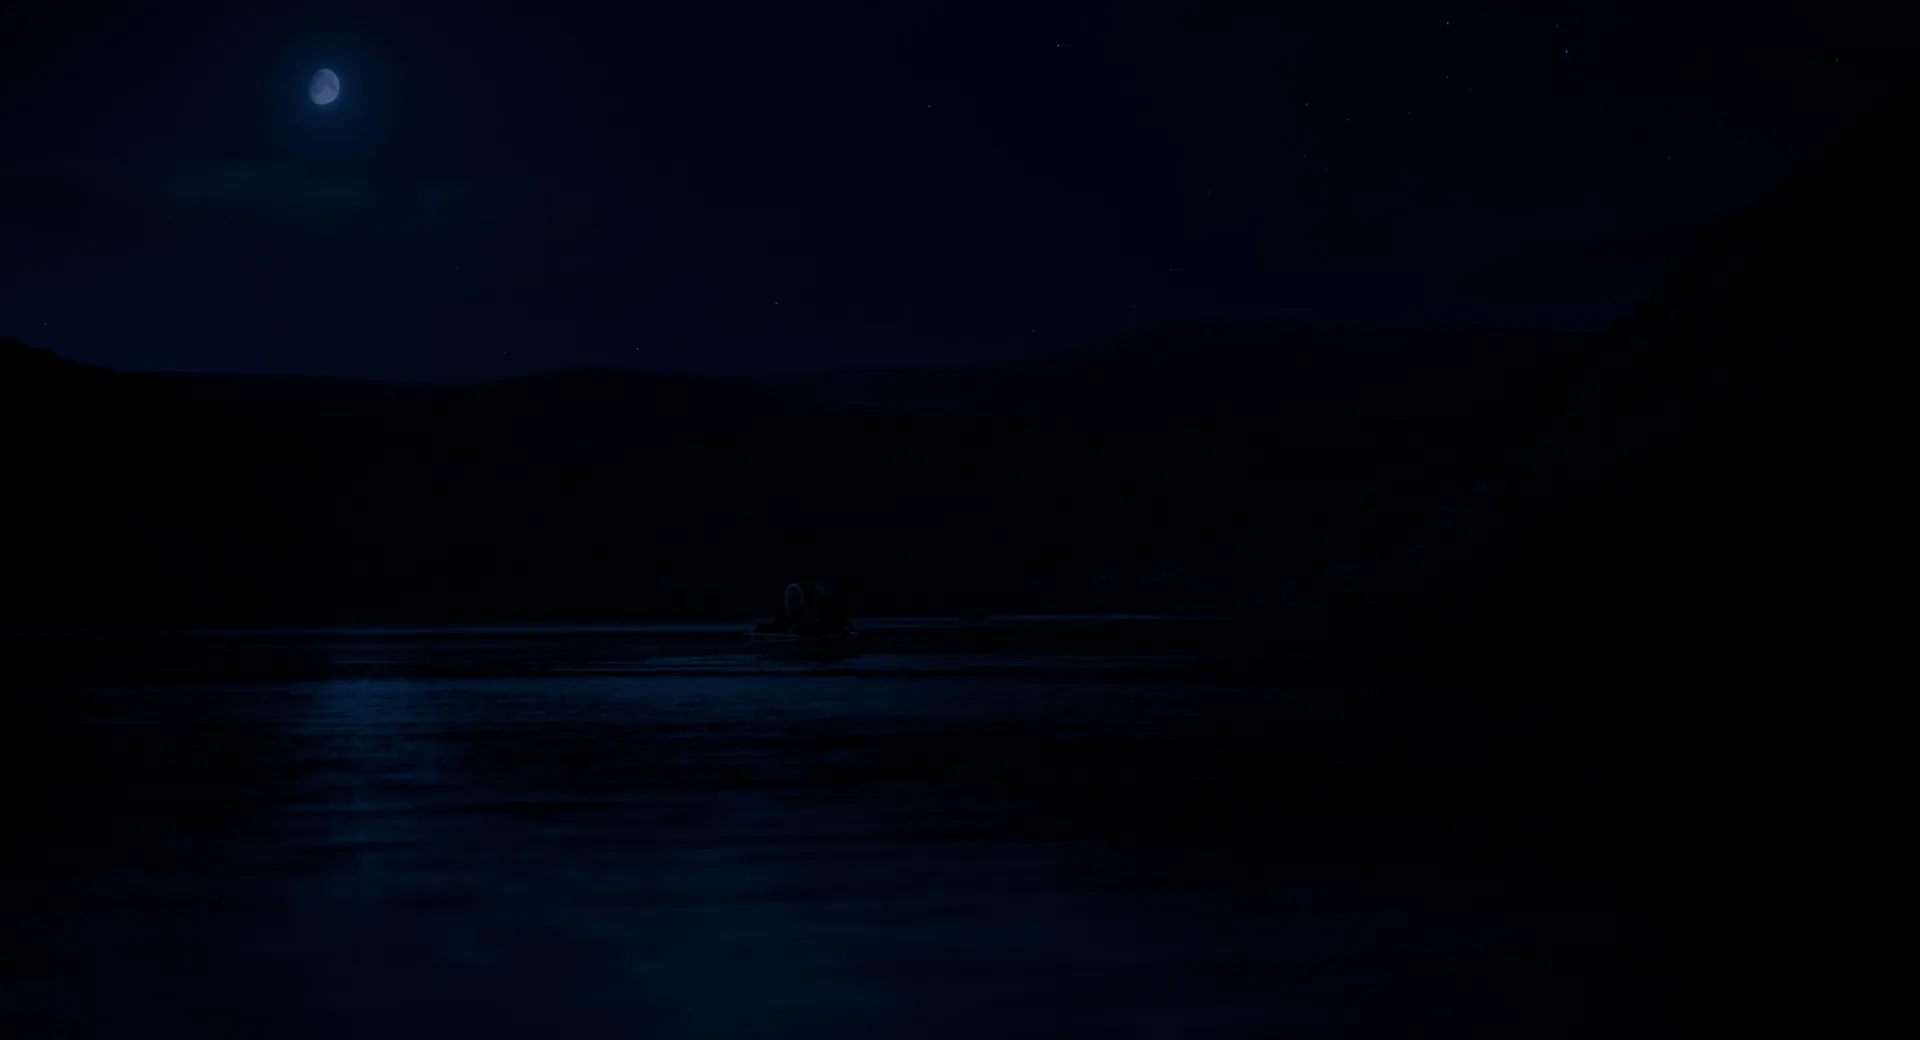
The clearest case study is Mad Max: Fury Road. Cinematographer John Seale, working with the film's visual-effects team, shot the day-for-night material roughly two stops over-exposed on the ARRI Alexa. The reasoning is pure digital: an overexposed capture holds more information in the shadows and rolls cleanly into the highlights without clipping, so you can pull the whole image back down in the color suite with detail and almost no noise. Colorist Eric Whipp then graded those plates into the film's now-signature deep, graphic blue night. Ninety-five percent of that night look was built in the grade, not baked in on set.
The takeaway isn't "always overexpose." It's that on digital, your on-set exposure is a data-capture decision, and the night is a grading decision. Protect the shadows on the day, then commit to the look in post. Get greedy in-camera and crush it dark on set, and you've thrown away the exact information the grade needs.
The rules that never changed
Whatever era or format, a few things separate a convincing night from an obvious daylight fake.
Backlight everything. Shoot into the sun so your subjects and set go into shadow with a hard rim of light around the edges — that rim reads as moon once it's graded cold. Front-lit day for night never works; a fully lit face at "night" is the fastest way to break the shot.
Kill the overhead hard shadow. A midday sun drops a sharp shadow straight down under noses and brows, and moonlight doesn't behave that way. Turn actors so the sun is behind them, shoot on an overcast day, or move into open shade.
Shoot the edges of the day. The half hour after sunset — blue hour — hands you a genuinely dim, cool sky for free, and the fading light is already doing half the job. If you can schedule for it, it beats fighting a high noon sun.
Don't blow out the backlight. A screaming, clipped hair light reads as a sunny afternoon, not a moon. Keep the rim controlled unless the character is literally standing in front of a fire.
When to cheat, and when not to
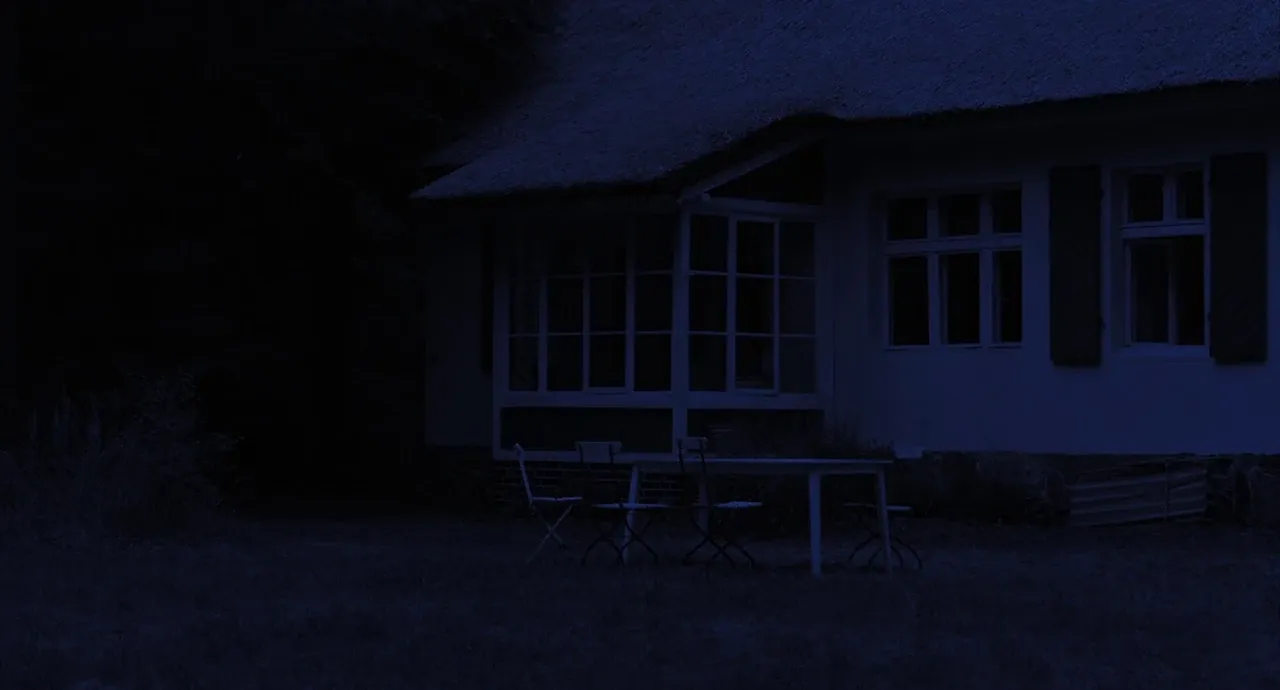
Day for night earns its place when the location is too big or too remote to light — deserts, open water, forest, anything where trucking in a lighting package is a fantasy. It's also the honest choice when a night scene needs to move fast across a wide area and you can't afford to relight for every setup.
It falls apart when the scene lives on faces and detail. A dialogue-heavy two-hander at night wants real sources — a practical, a soft key cheated as moonlight, some fill you actually control. Push that day for night and you'll spend the grade chasing skin tones that never sit right. And the moment a genuinely bright sky, a cast overhead shadow, or a person squinting into real sun sneaks into frame, the whole illusion collapses in a single cut.
The smartest move before you commit either way is to look at how the films you're chasing actually solved it — where they hid the sky, how cold they graded, how much shadow they were willing to lose. That's where a shot-matched reference pays off: pull a handful of night frames that nail the look you're after, study them the way you'd study any lighting reference, and bring them to the DP conversation before you're standing in a field at 4 p.m. deciding on the fly. It's the same instinct behind shooting into the shadows on purpose — you plan the darkness instead of fighting it.
Build that night look as a reference board in StillsLab, tie it straight to the shots it belongs to, and the whole crew walks onto the location seeing the same midnight you do.
How did you like this article?
Login to react to this article
Discussion (0)
💬 No comments yet. Be the first to share your thoughts!